Welcome to AmRay-Track!
There are two components to the AmRay Track system; The web interface and the Mobile App.
The Web Interface provides users with full access to the AmRay Track system while the mobile app has
been designed to provide access to the most pertinent information while on the move.
The app also allows users to scan an AmRay Track QR code to find information quickly with minimal effort.
- Getting Set-Up
- 1. Download our application (APP LINKS)
- 2. Log into a-track.eu with your given password
- 3. Update your password upon first log-in
The AmRay track web interface is designed to be used on a desktop or laptop computer. The interface provides users with a full range of functionality including:
• Add and Amend RPE information
• View and add RPE inspections
• View RPE that requires inspection soon, colour coded to highlight RPE requiring inspection immediately
• Sign off on inspections to ensure quality and traceability
• View complete event history.
• View complete RPE history
• Find aprons quickly with minimal information
• Organisation management for more convenient data input
• Apron statistics for quality control purposes.
• Scan and store aprons with short notes for later editing in the web interface
• Retrieve full apron information using the AmRay Track QR code or apron serial number
• View aprons requiring inspection
• Browse aprons quickly
• Enter inspection results while on the move
Logging In
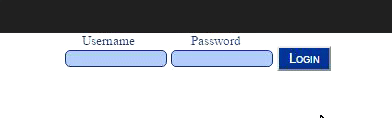
To log into the A-track system you will need to enter the username an password into the log in section of the home page.
If your have any issues logging into the system please contact info@amraygroup.com
Getting Setup
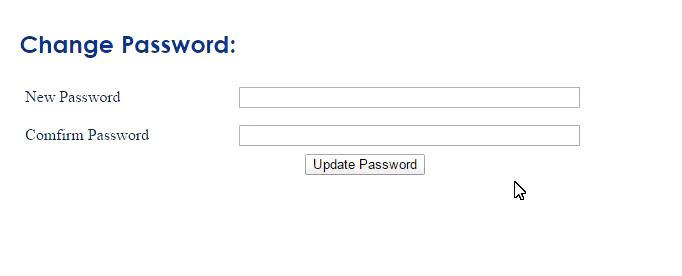
If you are logging into the web site for the first time you will be asked to update your password. This will only occur if you
are logging into the system for the first time.
Simply update your password by entering the new password twice into both of the input fields.
A password can then be changed in the future by e-mailing info@amraygroup.com
You will then be sent a notification that you are eligible to update your password.
Home
The home screen can be configured to allow for the most relevant information to be available at a glance. To do this a number of common graphs and tables have been defined that can be added to the home screen wherever the user wants.
The home screen is divided into sections, which can be populated with any of the available graphs and tables.
Presently the system contains six graphs and charts that offer the user a unique view of their RPE inventory:
• Recently Scanned Aprons: - This feature displays RPE that have been recently scanned by the accompanying mobile app
• RPE By Due Date:- Shows the number of RPE that are past due inspection, require inspection within one week, require inspection within two weeks, require inspection within one Month, and longer than one month. This can also be filtered down by department
• RPE by status: - Shows the number of aprons by status. Presently the system contains three possible values for status, In Use, Decommissioned, and out of service. This can also be filtered down by department
• Upcoming Inspections: - Lists all RPE which are due inspection. Colour coding is used to help prioritise inspections so that those due inspection are more critical than those that may not require an inspection for a longer period of time.
• Number of RPE by department:- shows the distribution of RPE by department
• Number of RPE by location:- shows the distribution of RPE by location.
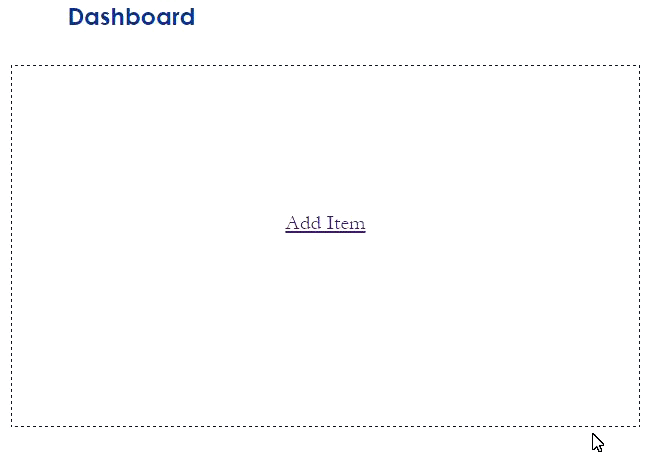
Setting up your Dashboard
To add a graph/table to the home screen:
1. Locate the area you wish to add the graph/table and click “Add Item”
2. In the popup box that appears select the required item from the drop down list
3. Click “Add”
4. The Item should now appear in that position on the home screen
Remove an Item from the Dashboard
To remove an item from the home screen:
1. Navigate to the home screen
2. Locate the item you wish to remove from the home screen
3. Click on the “Remove Item” button
View Aprons

View RPE
To view an existing RPE in the system:
1. On the home screen, click on the button “View RPE”
2. A list of all aprons belonging to your organisation, is displayed on screen
3. Locate the apron you wish to view and click on the Serial No. on the left hand side
4. The details, including inspection history should be displayed on screen
Edit RPE
To edit an existing RPE:
1. Locate the RPE you wish to edit either through a search or using View RPE steps described above
2. Click on the edit icon  located on the right hand side of the screen, above Inspection History
3. The Update RPE screen appears, with the existing data filled in
4. Alter this data as required and click the “Update” button.
5. Once the apron is updated you will be brought back to the View RPE screen and a message at the top of the screen will notify you if the RPE was updated Successfully
Inspections
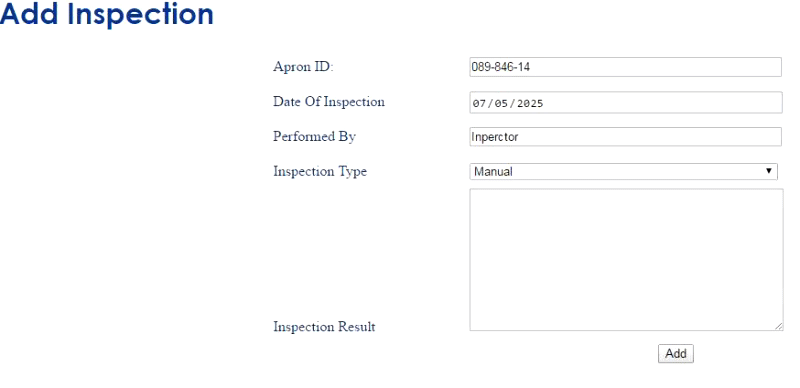
To add a new RPE inspection to the system:
1. Locate the RPE you wish to add an inspection for either through a search or using View RPE steps described in “View RPE”
2. Click on the Add Inspection button  located above the Inspection History section
3. Enter the assessment details:
a. Date of Inspection: - the date on which the assessment was performed
b. Performed By: - the person who performed the assessment
c. Inspection Type: - The type of inspection performed
d. Inspection Results: - The results of the inspection
4. Click the “Add” button to add the inspection
View inspection results
To view inspection results:
1. Navigate to the RPE for which you wish to view the inspection results
2. Under Inspection History, locate the inspection you wish to view
a. The main details for the inspection are displayed here with a short excerpt of the results
3. Click on “Read more” beside the inspection results to view the full results
To sign off an inspection
1. View the inspection results you wish to sign off
2. Ensure all results are correct
3. Click “Sign Off”
History
The AmRay Track application has built in support to maintain a complete history of each RPE. As the status of an RPE is changed, the system will record the state of the RPE before and after the change allowing you the ability to view the RPE through its entire lifetime.
In addition to maintaining the state of the RPE through its lifetime, the system also records all events of the system. These events are categorised as RPE events, User events and Inspection events. So if an RPE is updated or an inspection added, you can easily see who made the change and when.
View RPE History
To view the history of an RPE
1. View the RPE as described in view RPE
2. Click on the view history link
3. The left hand panel shows date, time and user who performed each event
4. Click on an event to view the state of the RPE after the event
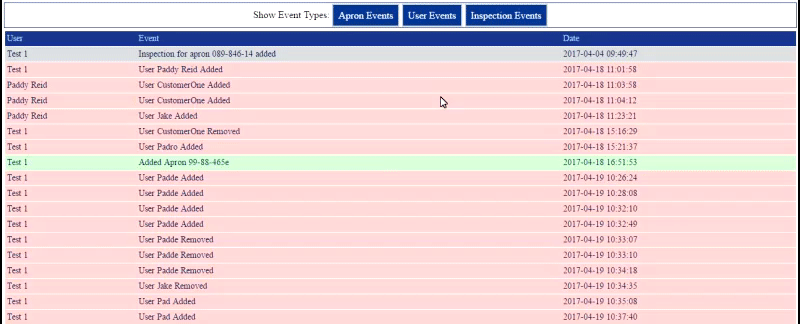
View System History
To view the system history:
<
1. Click on the View History link on the navigation bar
2. By default all events are shown. If you would like to view a particular set of events deselect the event types that are not relevant by clicking on the event type in show event types box.
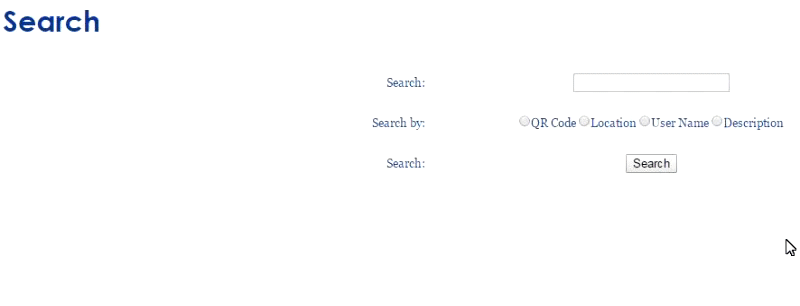
Search
The easiest way to find an apron is by its ID
1. If you know the ID enter it in the search box at the top of every page and click Search by ID.
2. When the RPE is found its full details are displayed on screen
If the RPE ID is not known, you use the search facility to search by location end user name or description.
1. Click on the search link in the navigation bar
2. Enter the term you wish to search by
3. Select either location, End User Name, Description, or QR code
4. Click Search.
5. All results are then displayed and then click on the Apron ID of the apron you wish to view.
Organisation Management
When adding a new apron to the system, it is necessary to specify where the apron belongs. To simplify this process, AmRay Track allows an organisation to pre-define the departments within the organisation and then simply select the correct department from a drop down menu. In order to allow organisation’s use their own department names you must add the departments within your organisation in the system.
Adding a department
To add a department
1. Click on “Organisation Management” on the navigation bar.
2. Enter the name of a new department in the text box provided
3. Click the add department button
4. You should now see the department in the list of departments
Removing a department
To remove a department
1. Click on “Organisation Management” on the navigation bar.
2. Find the department you wish to remove
3. Click on the remove link to the left of that department
4. The department should now be removed from the list of departments
Mobile
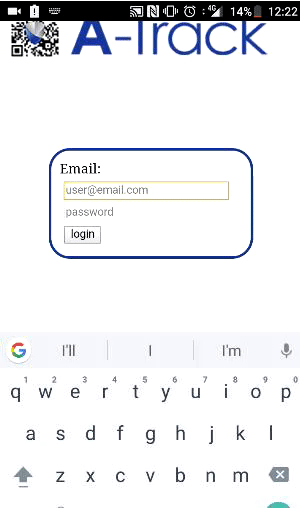
When opening the A-Track application you will be presented withe a log-in screen.
To log into the application use the same e-mail and password used in the www.a-track.eu system.
You will be asked to login every time you use the application.
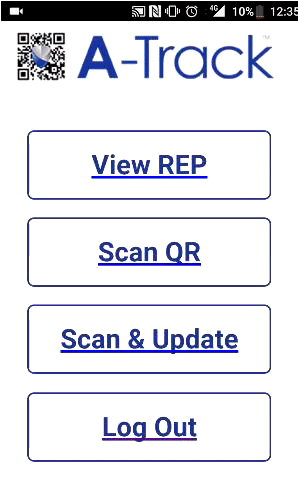
After logging into the application you will be given the opion too chose one from six languages.
Once you have chones a language you will be displayed with a menu wioth four option.
Looking at View RPE, this option will present a list of all your aprons.
Clicking on an apron will display all the details about the apron and its inspection history history. You also have to option to select
an inspection in the history to vie all of its information.
to return home press "Home" in the top left corner or "View RPE" in the top right to return back to your list of aprons.
The next option in our menu is the Scan QR code option. This option makes it quick and easy to find an apron in our system.
Our aprons are equipt with a QR code. Instead of scrolling through all your aprons we offer the option to scan the QR code on said
apron and then all the information will quickly appear on your smart phone.
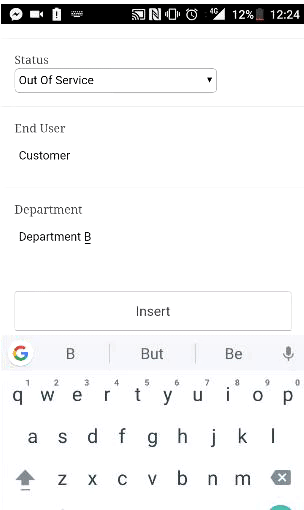
The last option in our application is to Scan & update, With this option you can alter the information on any apron.
For instance you can:
1. update the aprons location
2. update the Inspection Frequency
3. update the apron status
4. update the End-user
5. update the department
Once you have scanned an apron it is not to late to cancel the update. simply close the application or press the View RPE option in the top left
corner. Once Update has been selected your apron will be updated with the new information.